
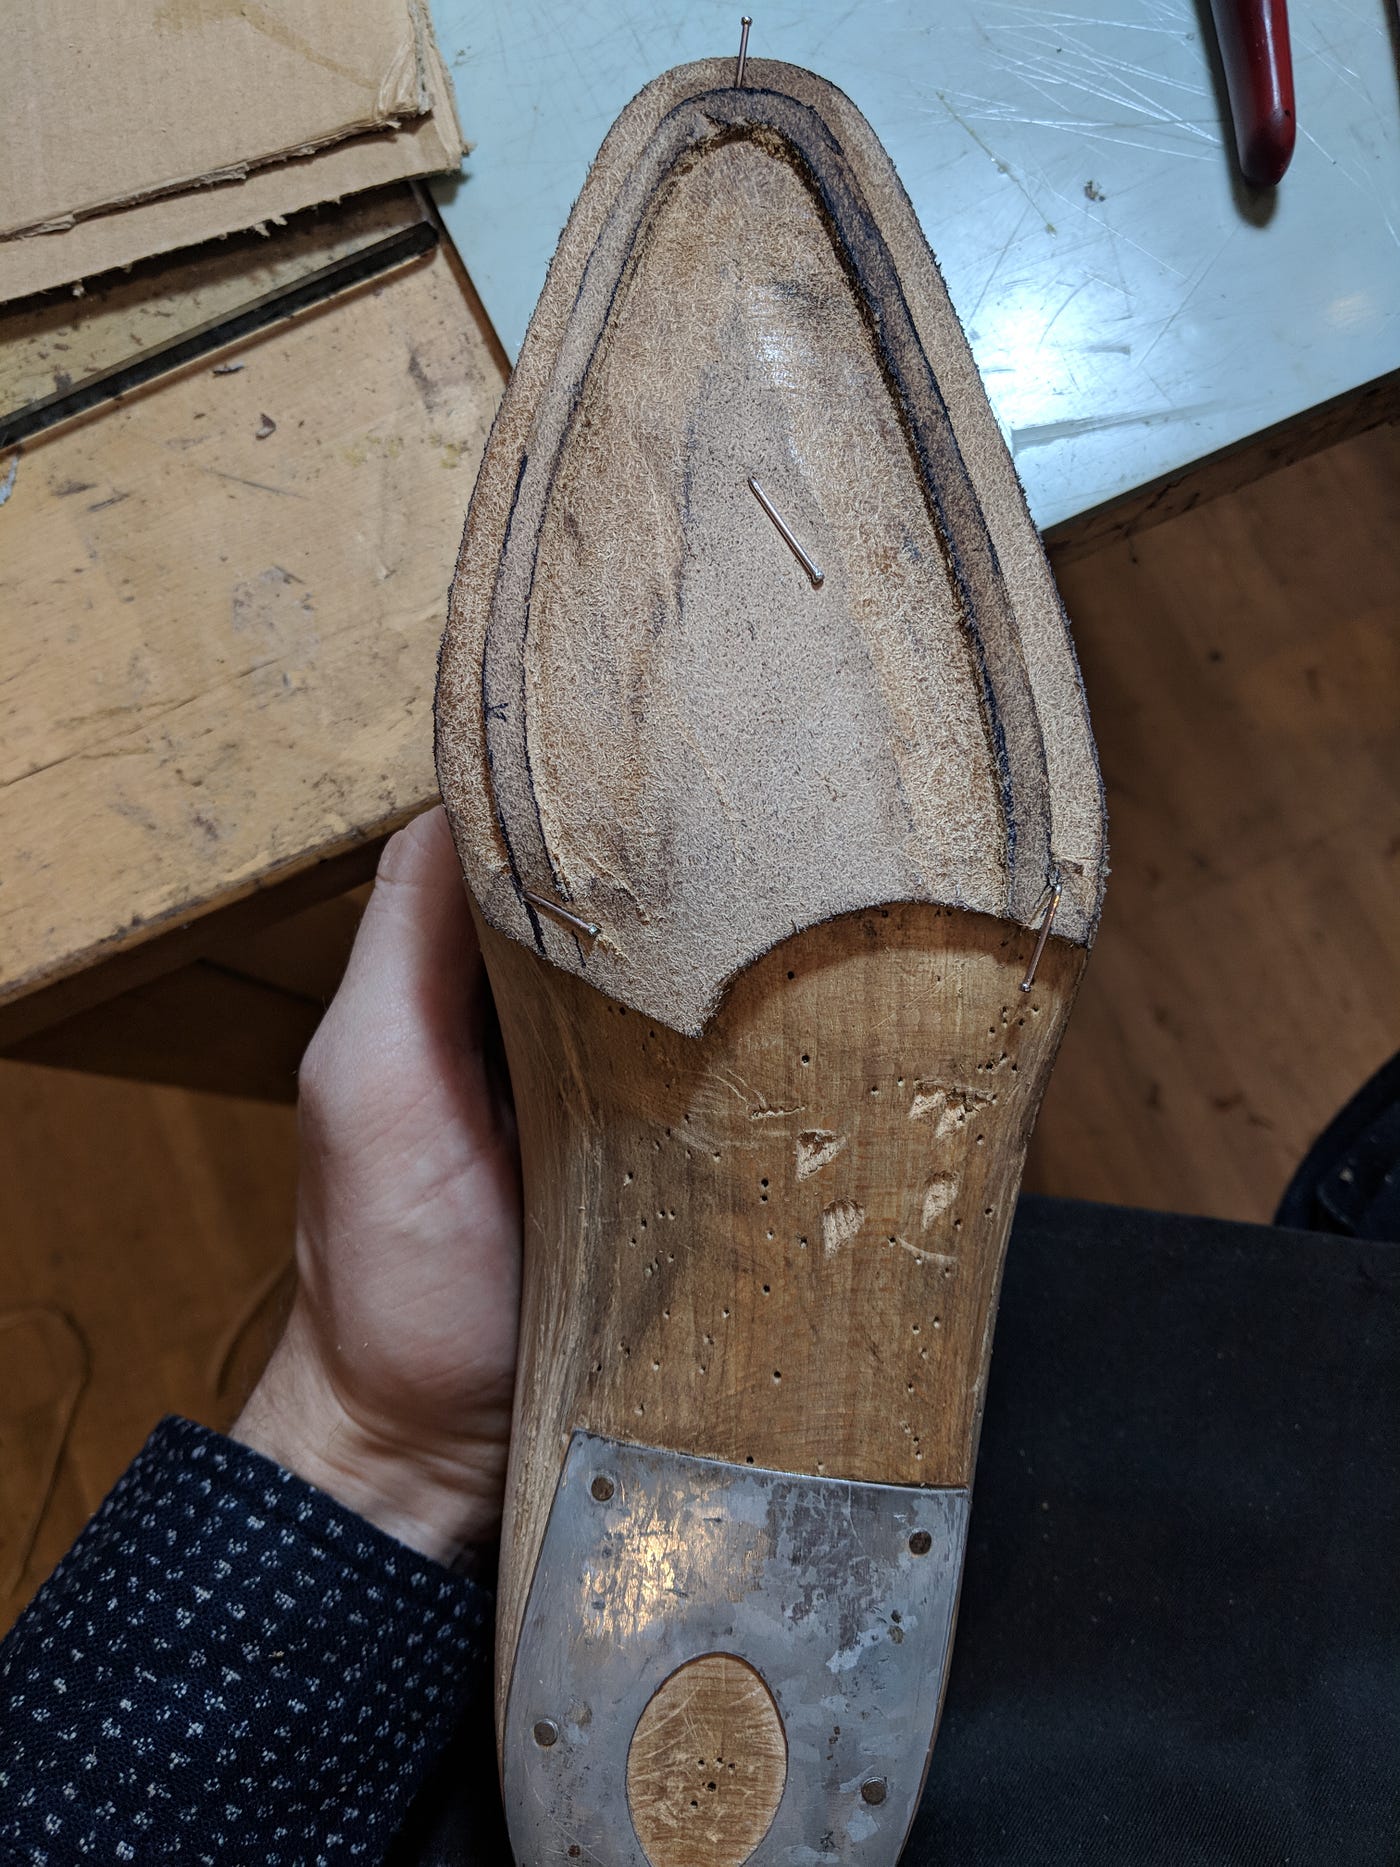
The insole is one of the most important pieces of a shoe. In fact, as long as the upper and the insole is good, everything else can be replaced. With that in mind, its very important to prepare it properly. We’ve been using shoulder leather roughly 6mm thick, so its quite durable and thick enough to channel properly.
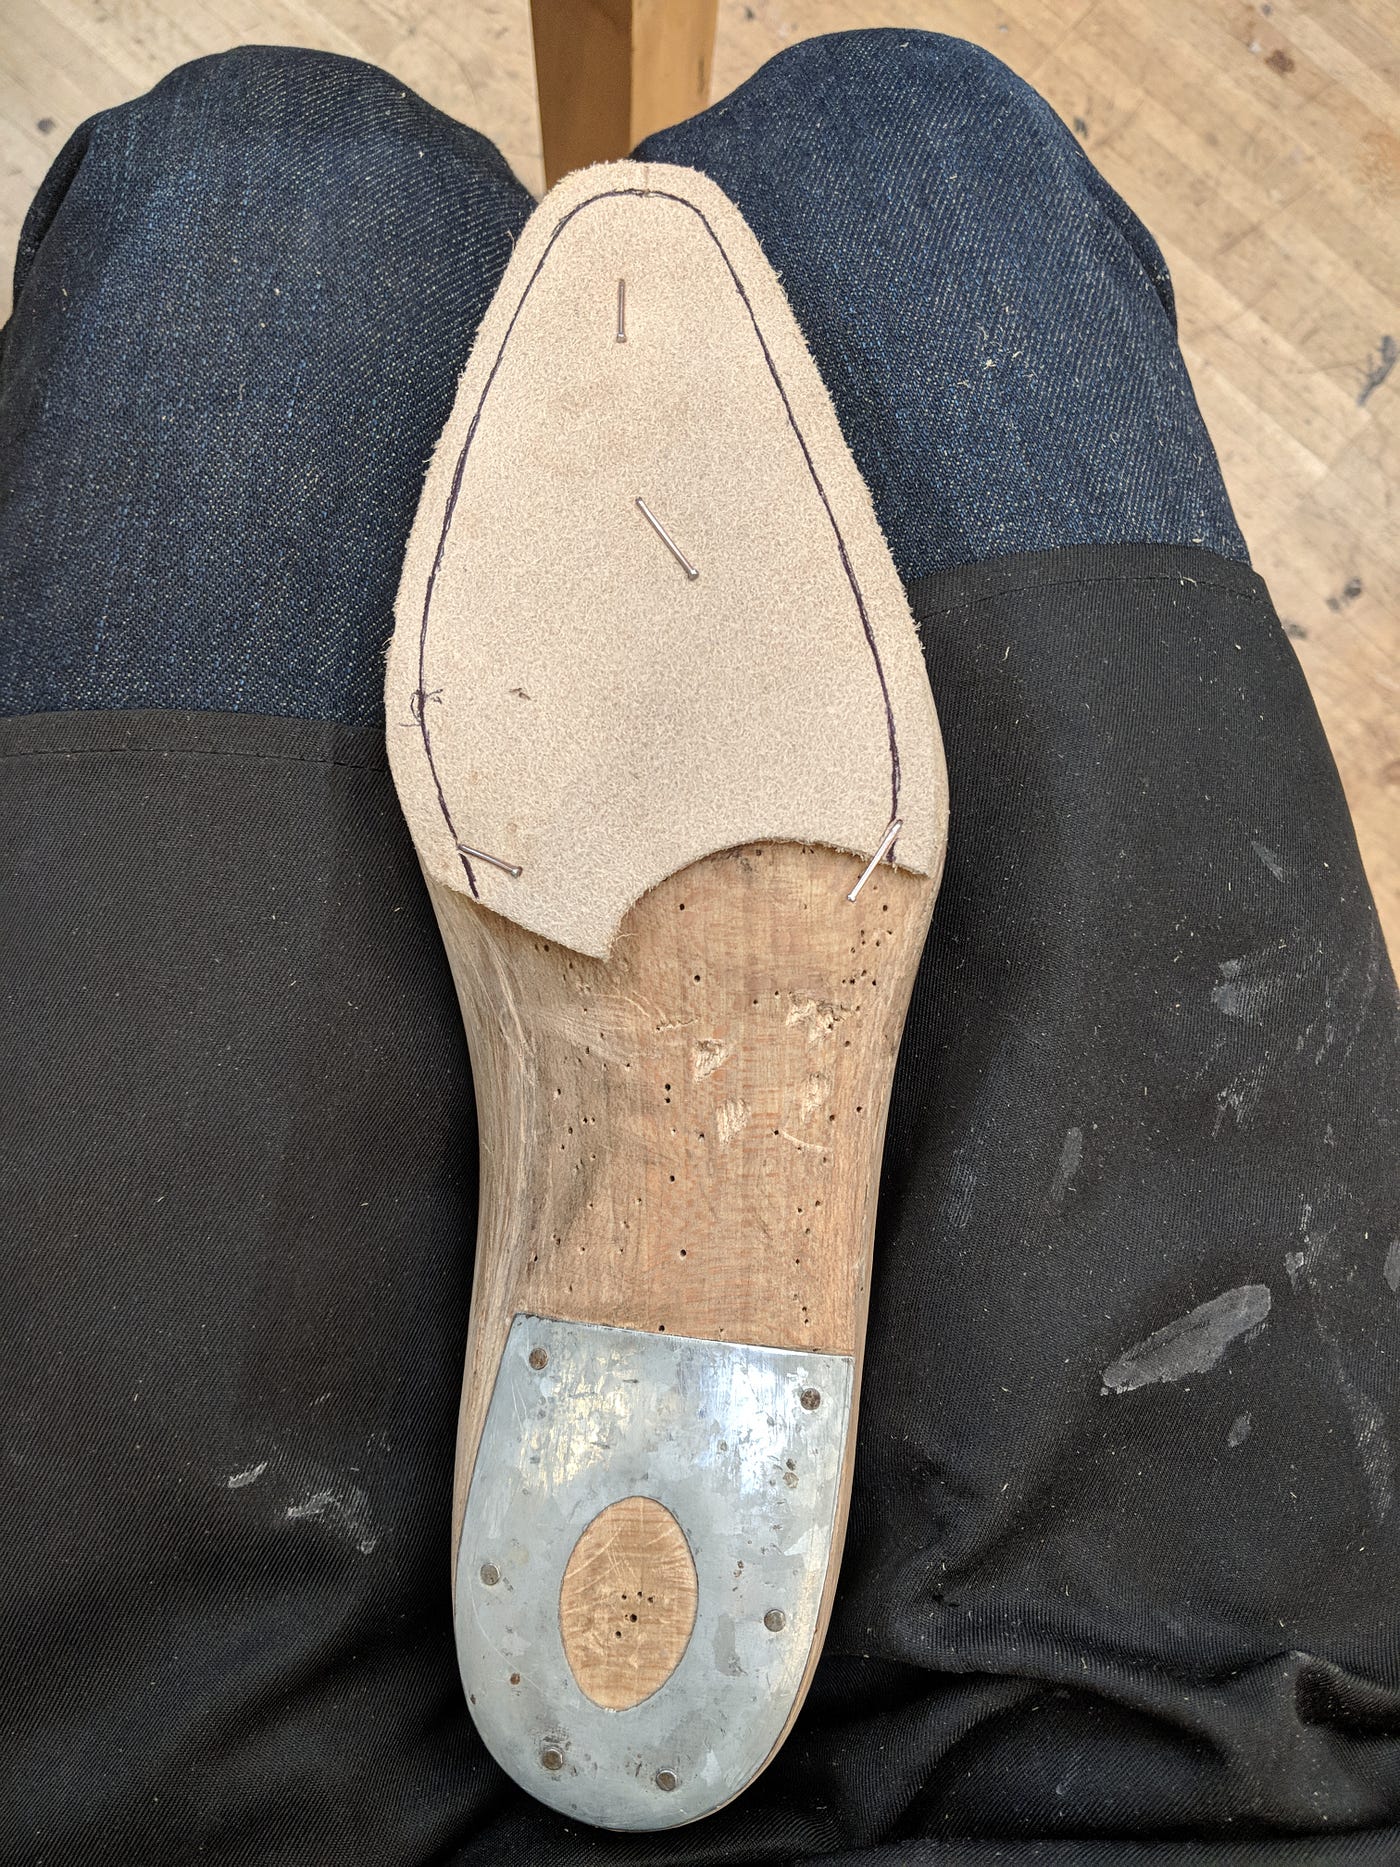
Measure out 7mm around the insole, mark it, and make an incision roughly 3mm deep. Its important that you make the incision at a slightly outward angle, that way the base of the holdfast is thicker than the top.

After you make the cut, use the channel opener tool to give yourself some space. We wet the leather to make it more flexible, but then found out that as the leather dried it became really hard, so I’ve since stopped doing that. Your results may vary.

Before cutting, its a good idea to mark a line around the insole roughly 3mm in (or about halfway depending on the thickness). Then, you make your first cut at about a 45 degree angle between the holdfast and the measured out line.
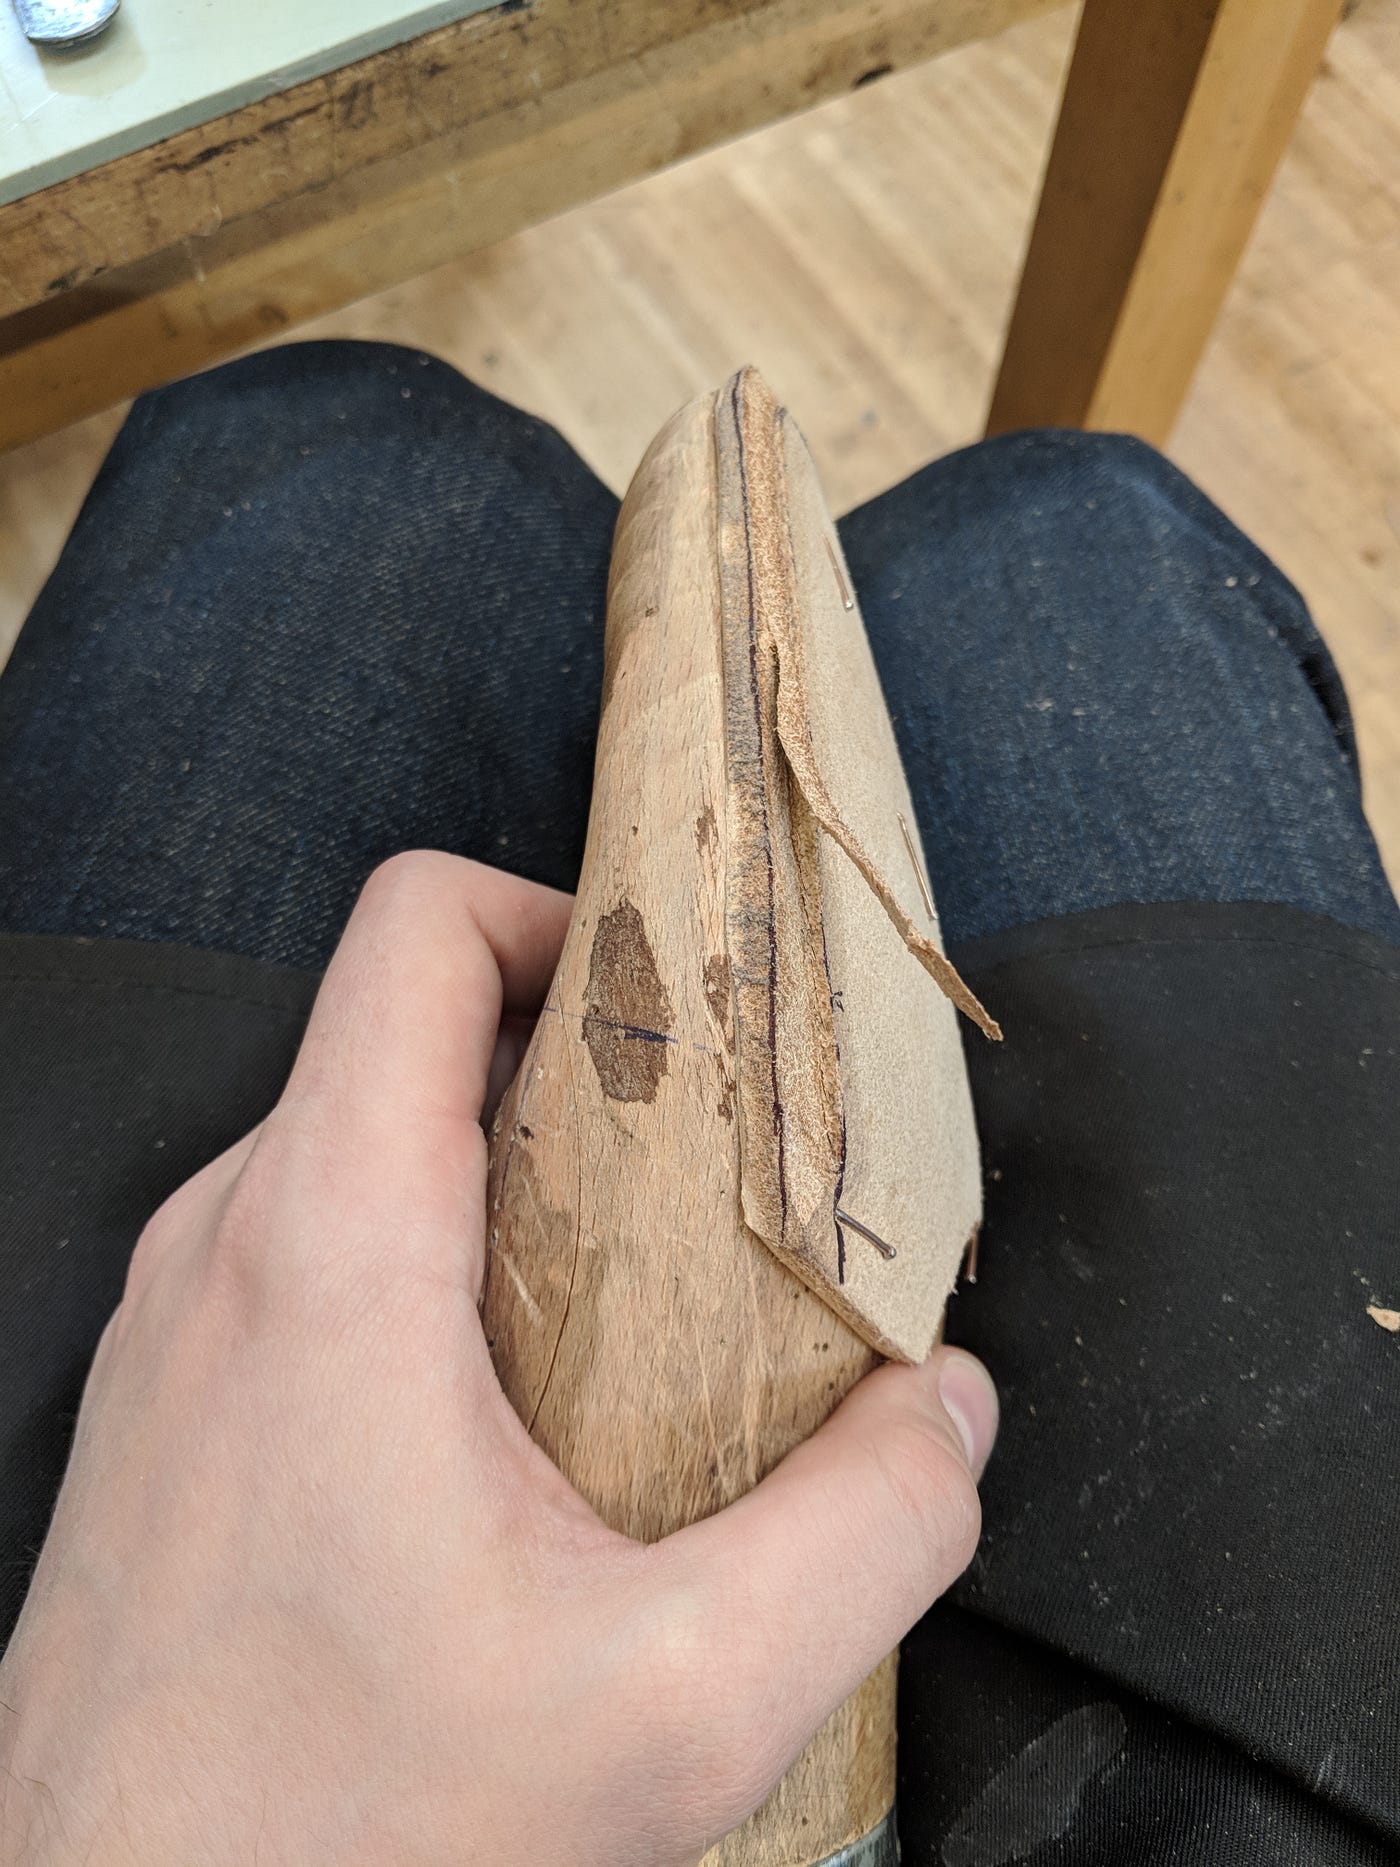
Make a second cut evening out the channel. Instead of just cutting it straight, make the second cut parallel with the way the insole curves. Its easy here to get a little carried away and cut too deeply. This isn’t the end of the world, but not a good thing for a pair of shoes because it can make the insole too thin in areas, also it will be harder to get your awl holes where you want them later.
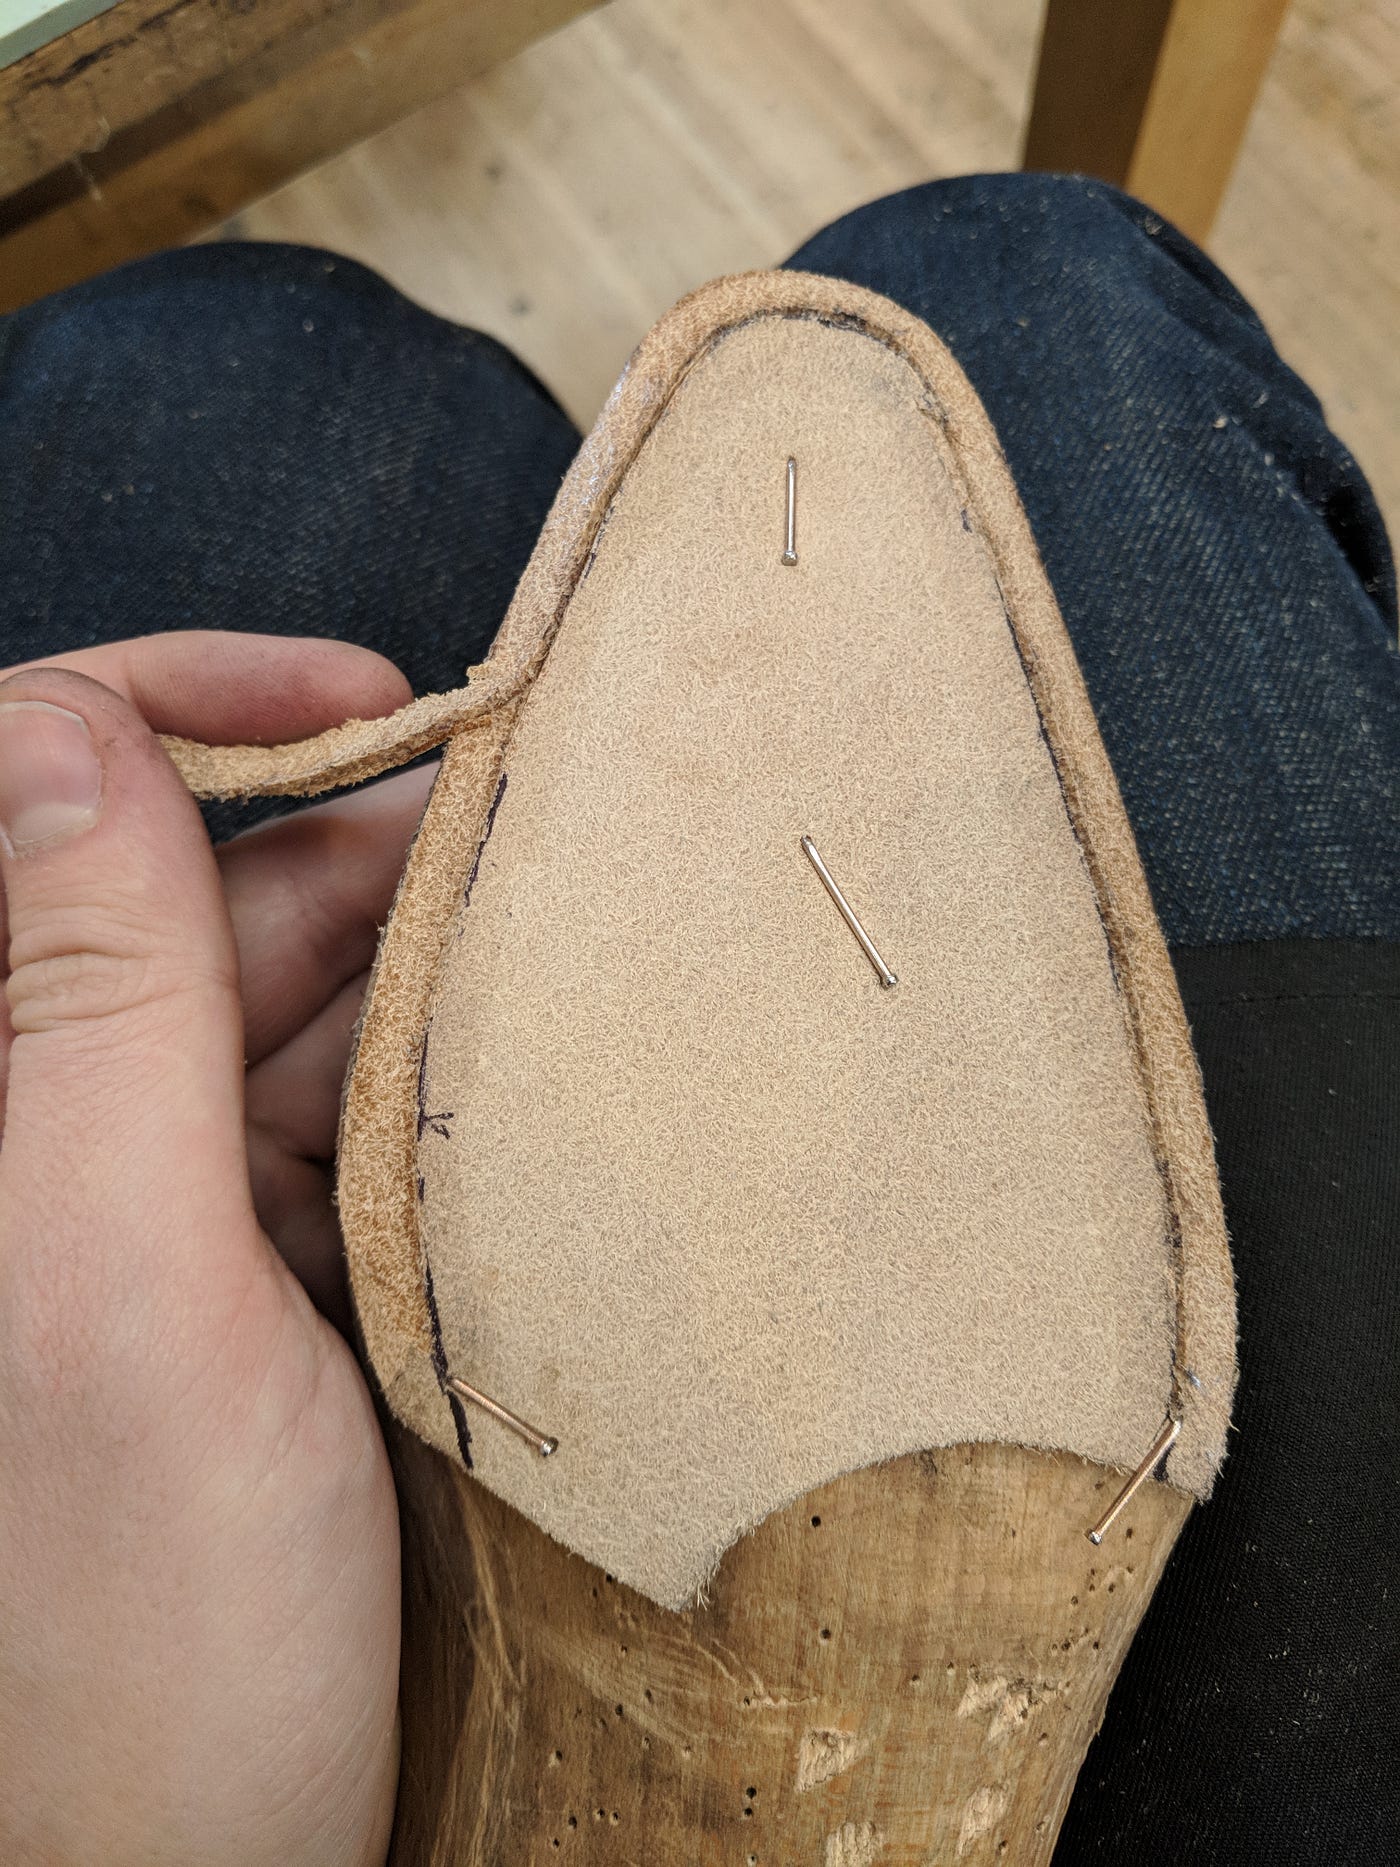
It helps pulling the leather up as you cut. I usually do one rough cut, then adjust the depth and even everything out after.
Now measure out 6mm from your first line, make your 3mm depth incision, and use your channel opener again. Make sure you cut at an angle away from the holdfast here as well, to make the holdfast thicker at the base. After you’ve used the channel opener, you can start cutting out the second channel. Its important to have a very sharp knife tip here. It gets dull fast, so make sure to sharpen often.
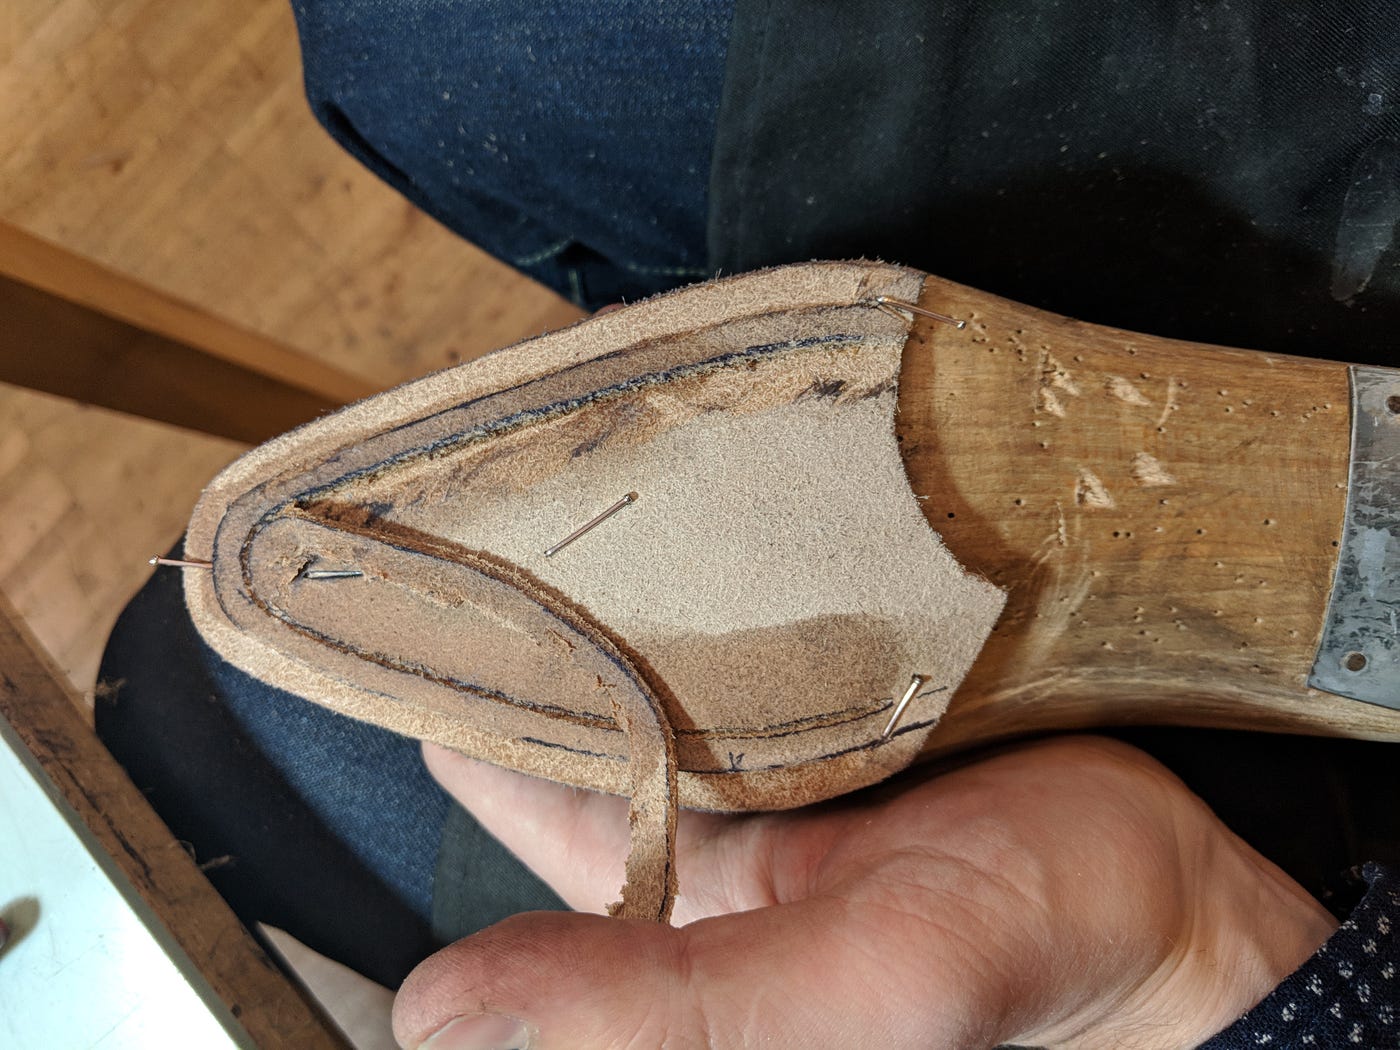
A bit rough, but a completed holdfast!

You can also use a channeling knife if you’re fancy. Or are even able to find one… This one happens to cut at the perfect depth, but I haven’t been able to find anywhere online that sells this type yet. Either way, its a good idea to at least know how to do it with a normal shoemakers knife.
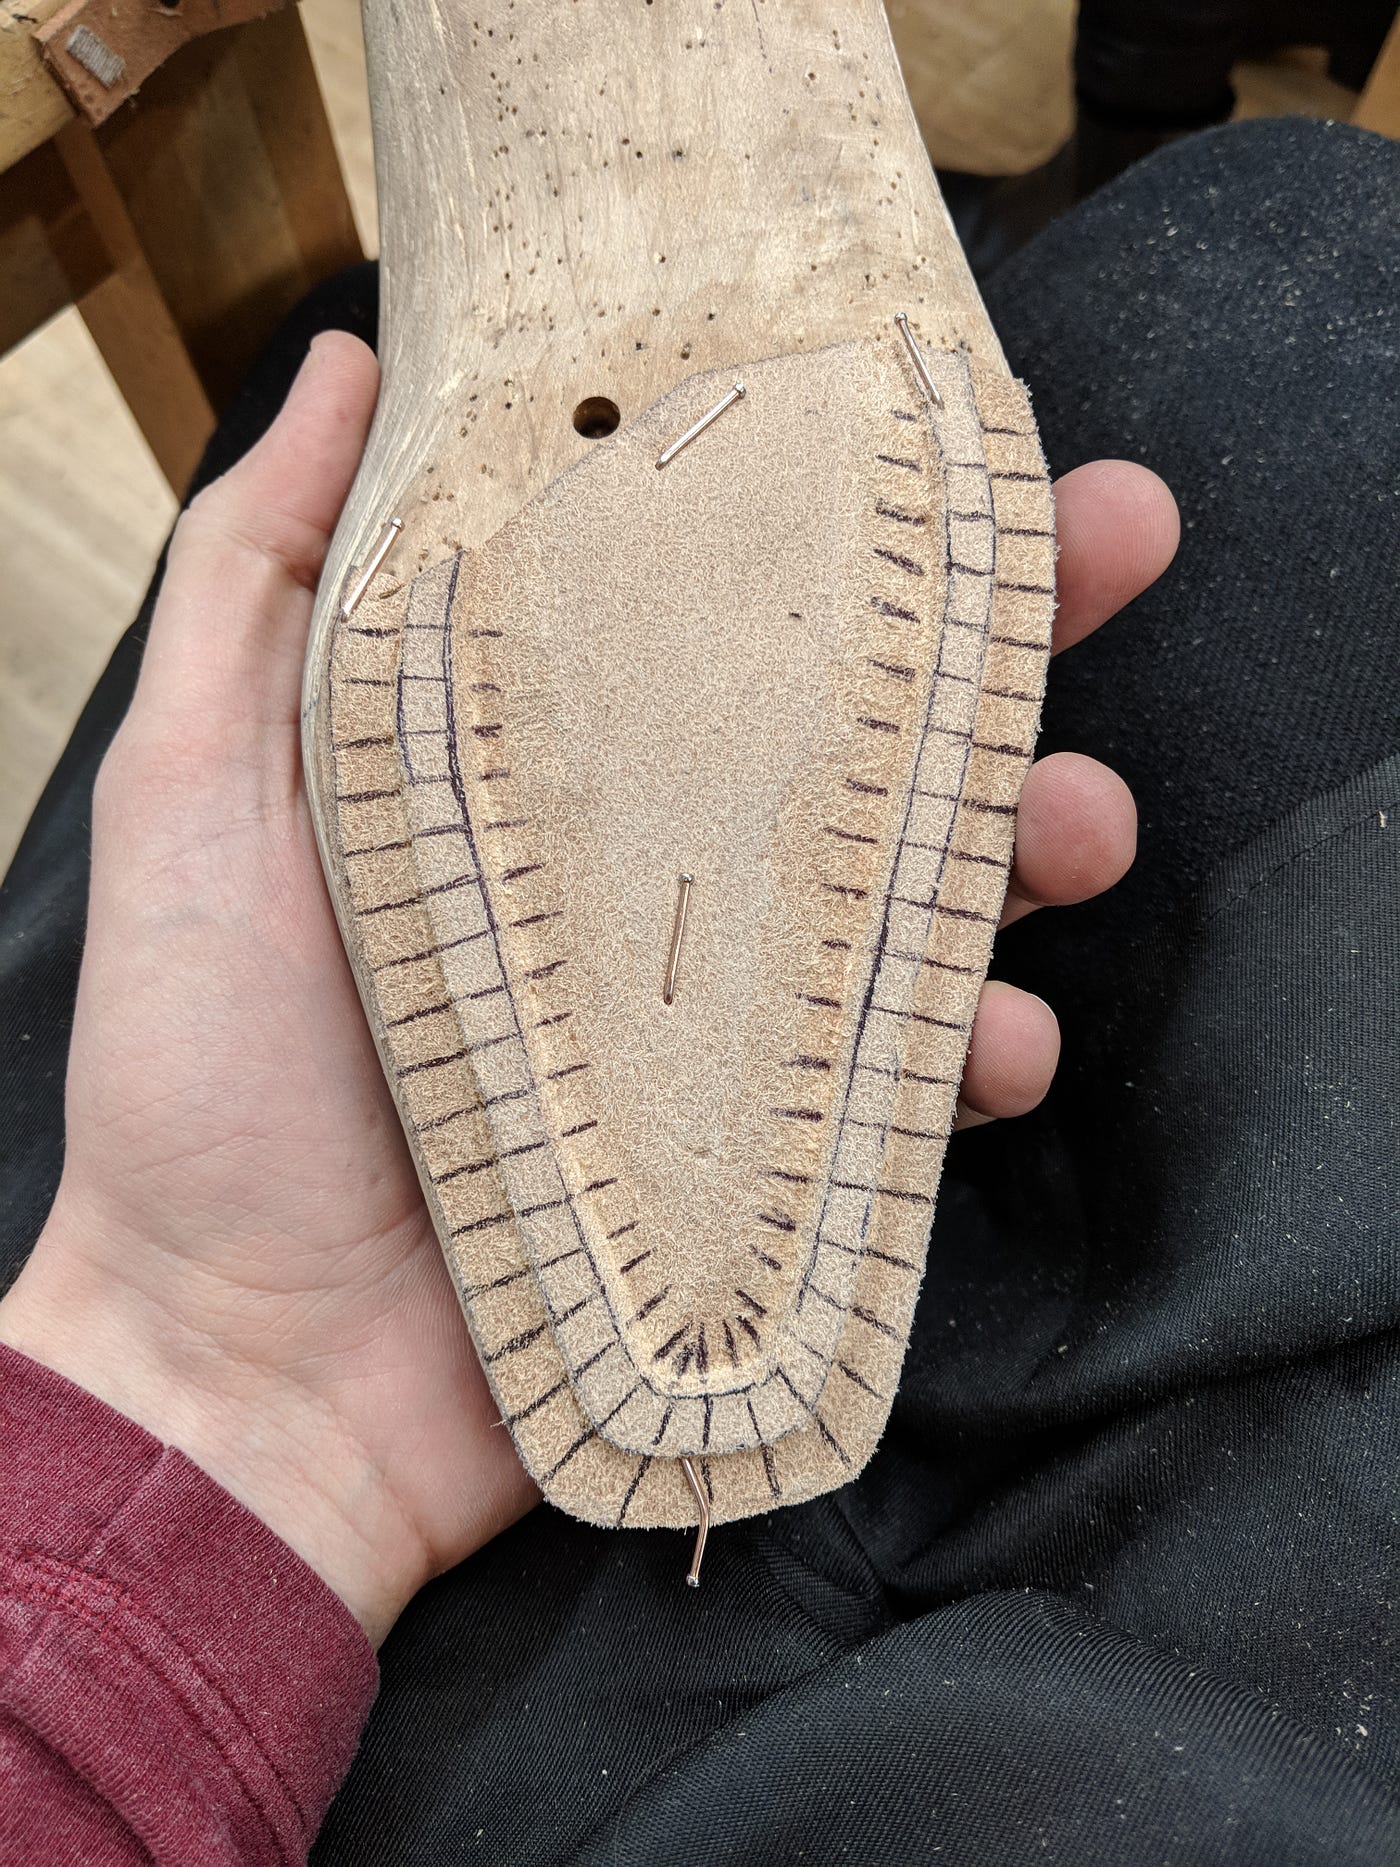
Once the channel is cut, you can start marking it out for your awl. We use 6mm increments, lowering it down to 5mm at the toe. Make sure to mark both the outer and inner portion of the channel, as the outer part will be covered by the upper later. Also, make your marks perpendicular to the holdfast until you reach the toe area, then have them all converge to a point.
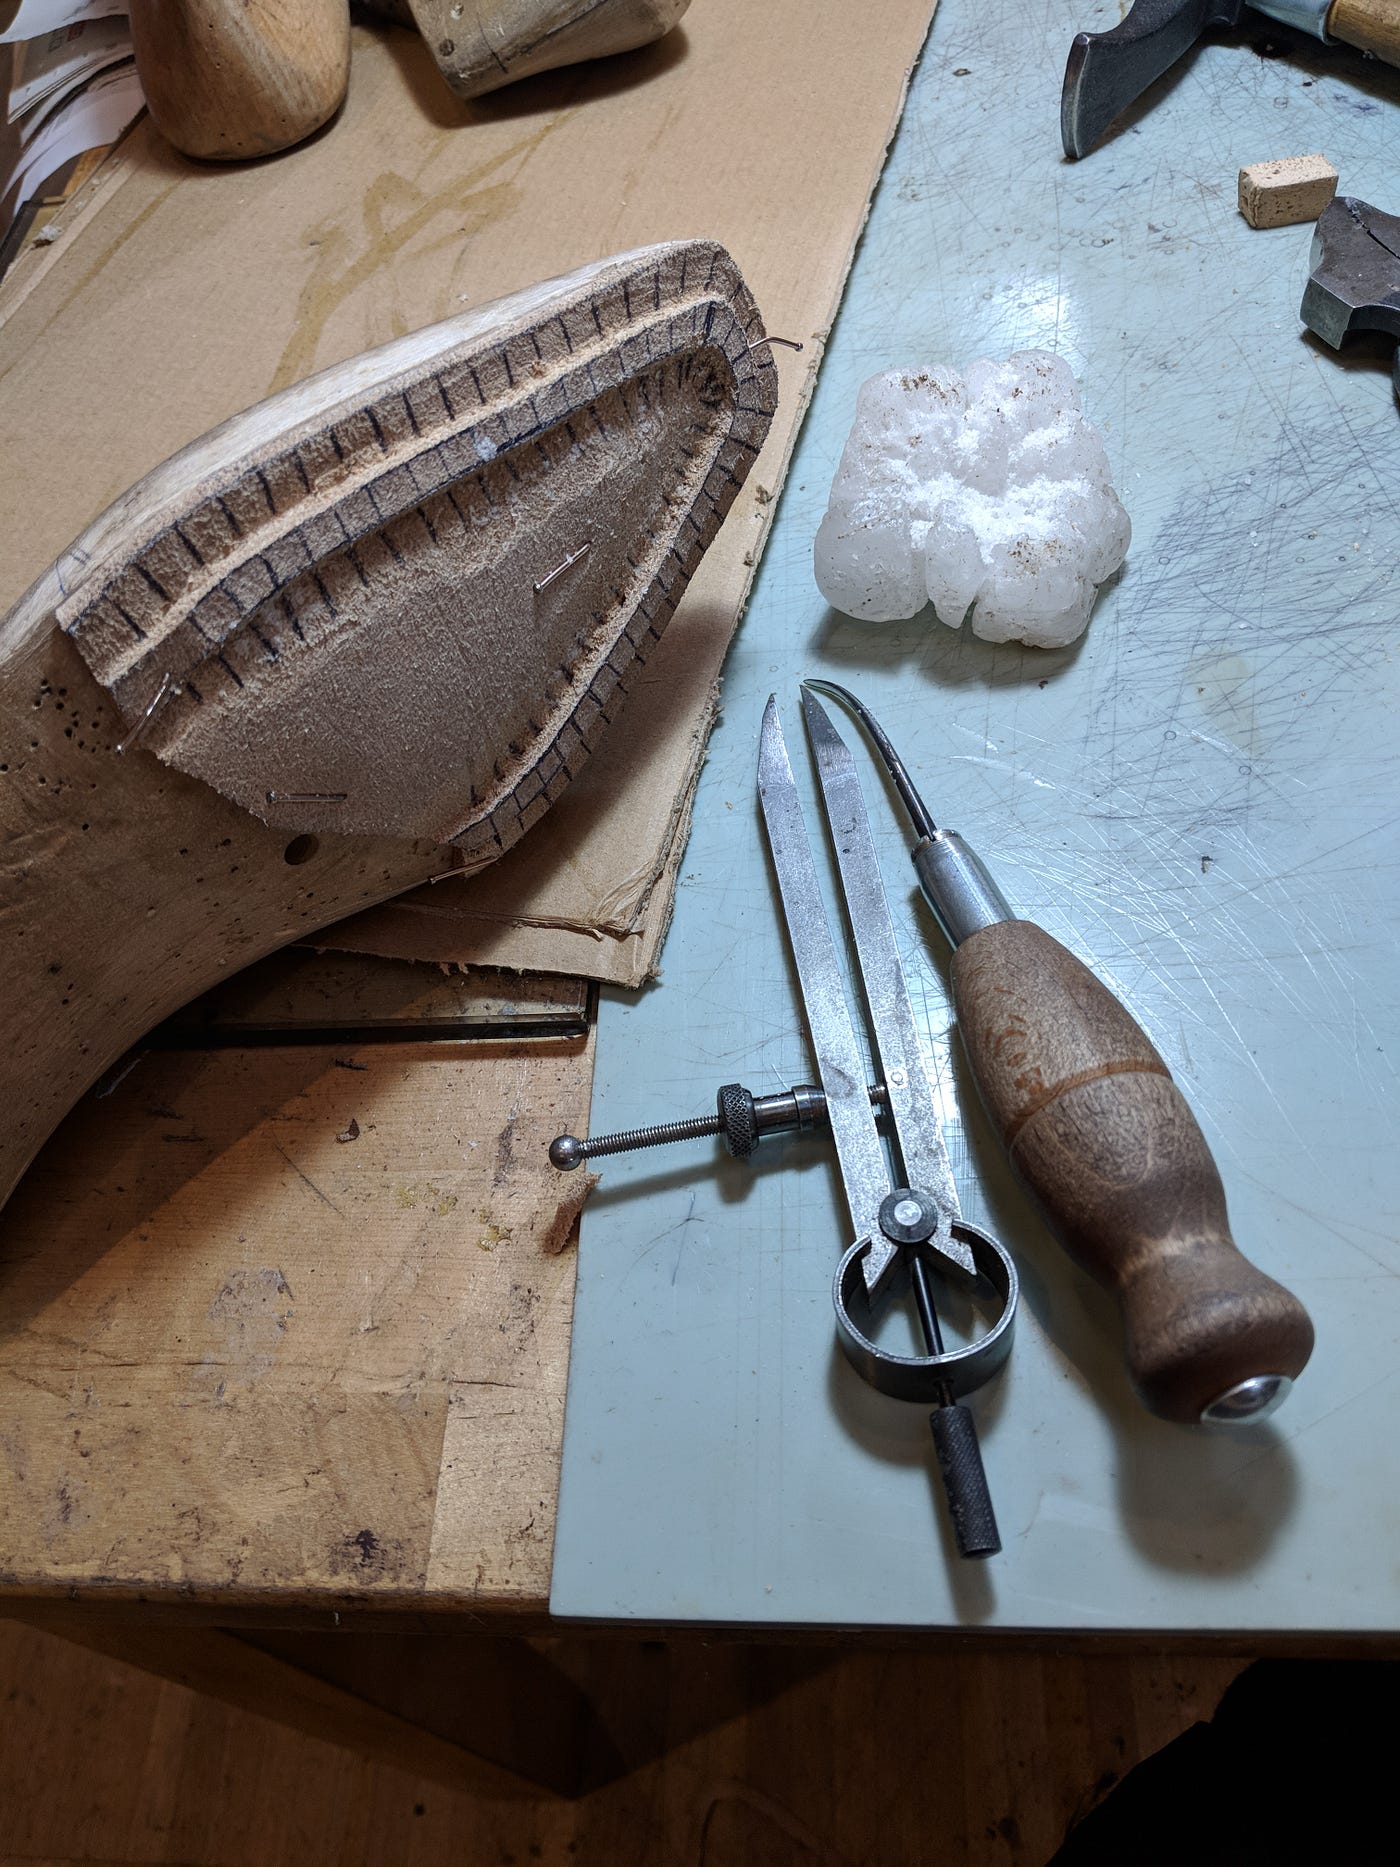
Tools of the trade. Make sure your awl is sharpened and use wax every time you make a hole, it really helps!
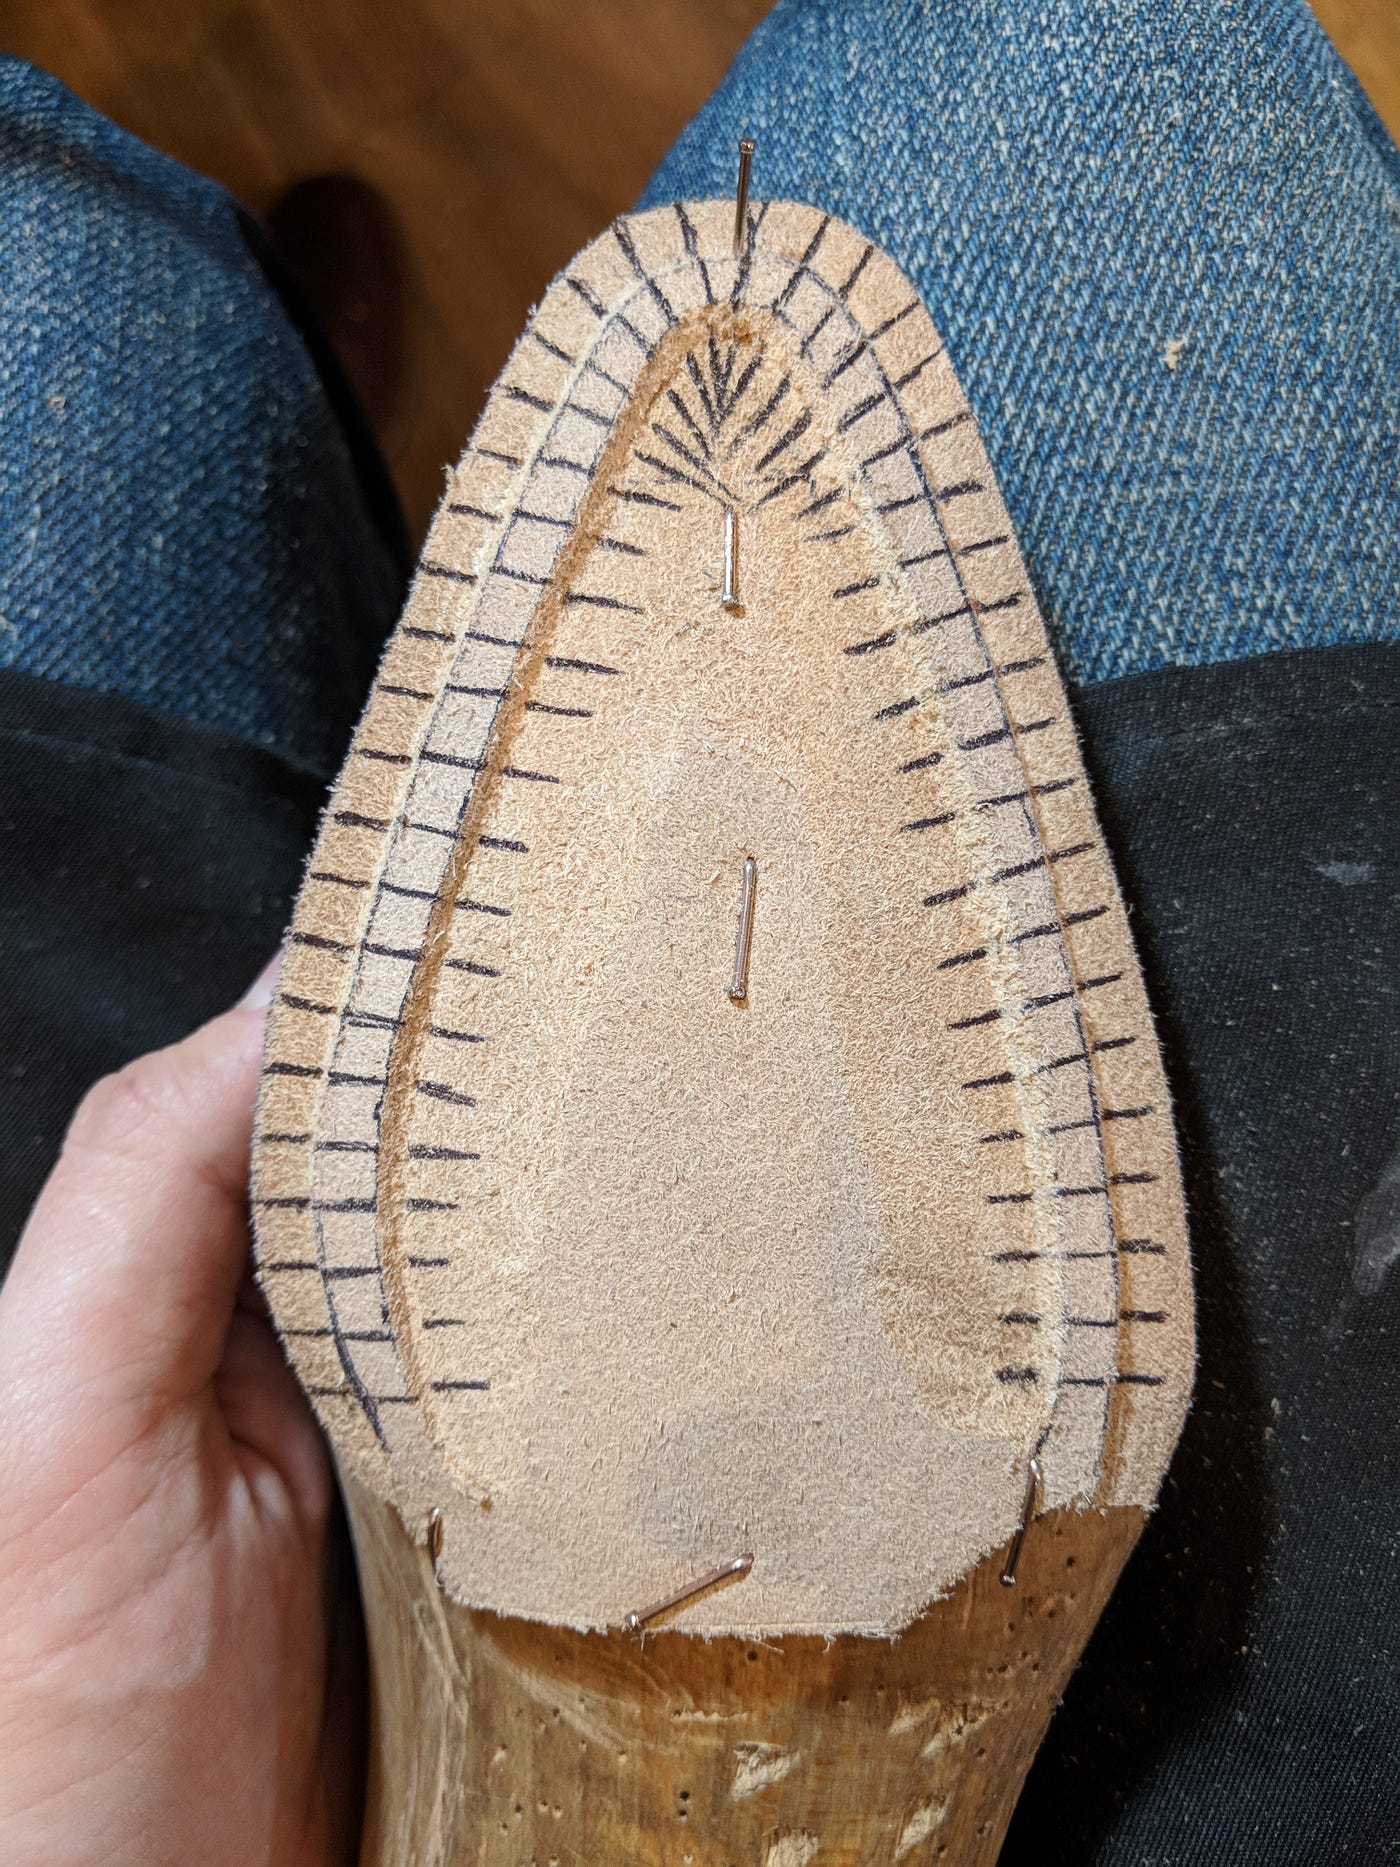
This is my third attempt, and the best one yet. The difference was quite noticeable during welting. If you make your channels at an even depth, and skive off far enough on the inside channel, it will ensure that your awl holes all come out exactly where you need them later when you’re welting.

Bonus shots of Florence

If you want to see my latest projects, give my Instagram page a follow.
1 comment
I’m trying to make my own pair of shoes and I come back to these blog posts again and again! The holdfast, lasting, and welting explanations and images are so useful and really explain the why and how the best. It’s kind of a niche subject so there’s not a ton of info out there like this. Thank you for posting these!