The welt is a strip of leather that holds the whole shoe together, and allows shoes to be resoleable. You make a stitch through the upper and the holdfast, and a second one around the outside of the welt to the outsole. Before you make the welt though, you have to make the thread!

A few important tools you can make. The tube should be a snug fit around your thumb, and the arm protector should fit comfortably snug around your palm.
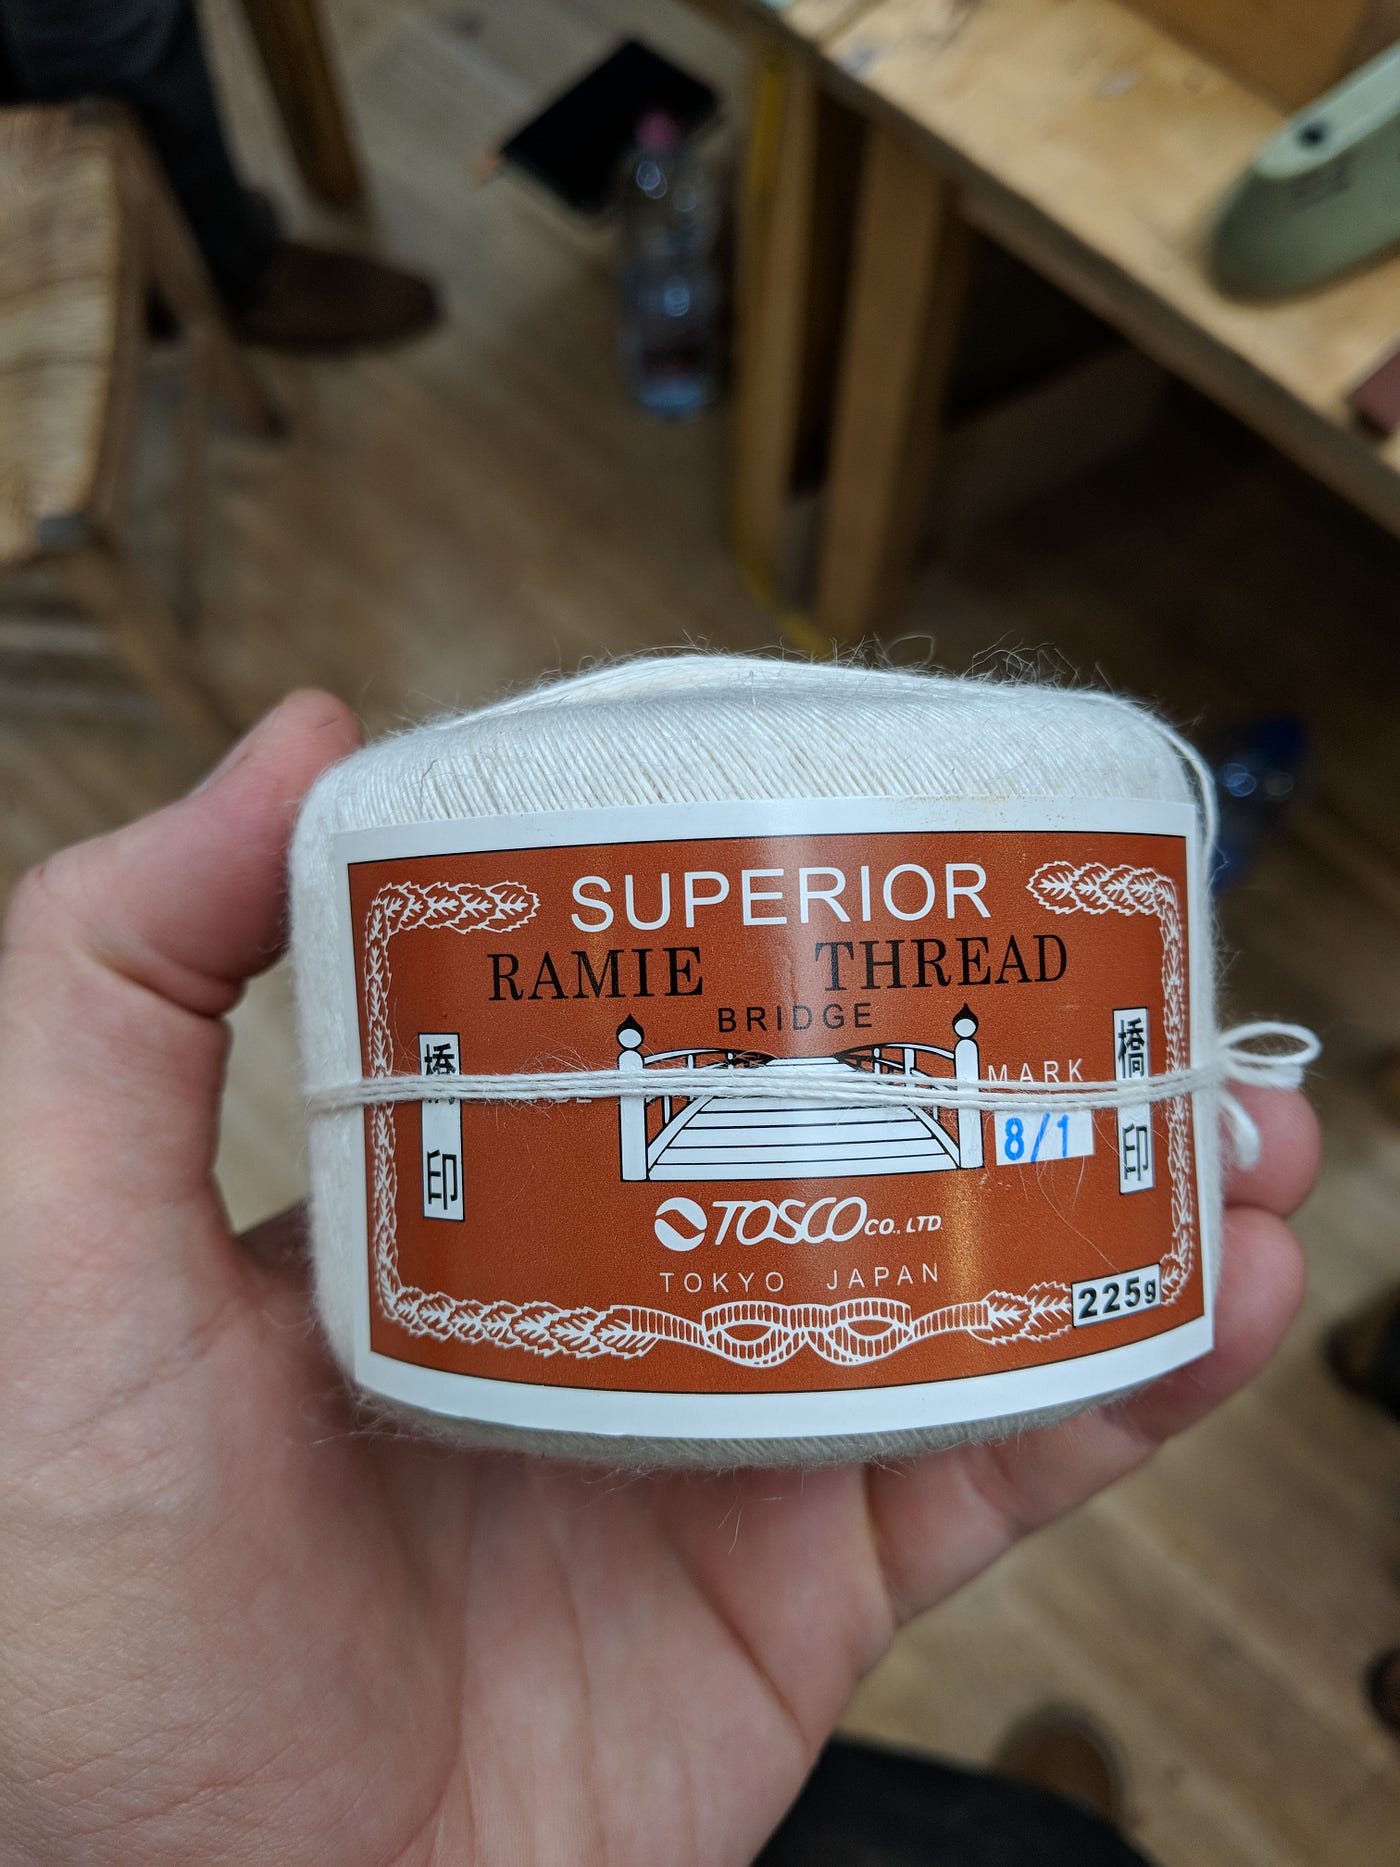
We use Ramie thread for welting, however before you can use it, you have to prepare it the old fashioned way! For a half outsole its 8 times the length of the perimeter of the outsole. For a full insole, I use about two handspands. Your results may vary, but its better to have more than less. If you miscalculated and don't have enough thread, no worries! Just tie off the thread where you run out and make sure to start the new thread in that same hole to finish welting. You shouldn’t cut the thread, instead, hold one end secure while unwinding the other end by rolling it with your palm. Once enough is unwound, you can pull the thread apart, this leaves a light and wispy edge.

Its important that you keep your edges as shown here, also, you’re going to need 4–5 threads of that same length. As you make your second thread, make sure the ends are staggered, i.e. the second thread will be longer than the first thread on one end, and shorter on the second end. Keep doing this for each of your threads so both ends are tapered. This step is really important, if you don’t taper the edges, they are more likely to come loose and bunch up while pulling the thread through the holes.

This is pitch, or more accurately, shoemaker’s wax. Apply a generous coating over your thread in long stroking motions. This will help the fibers bind together, and make the thread and welt watertight. Apply until the thread starts getting a yellow tinge to it and feels tacky.

Thread with pitch applied, you can leave the ends relatively clear at this point.

Thread after it is twisted
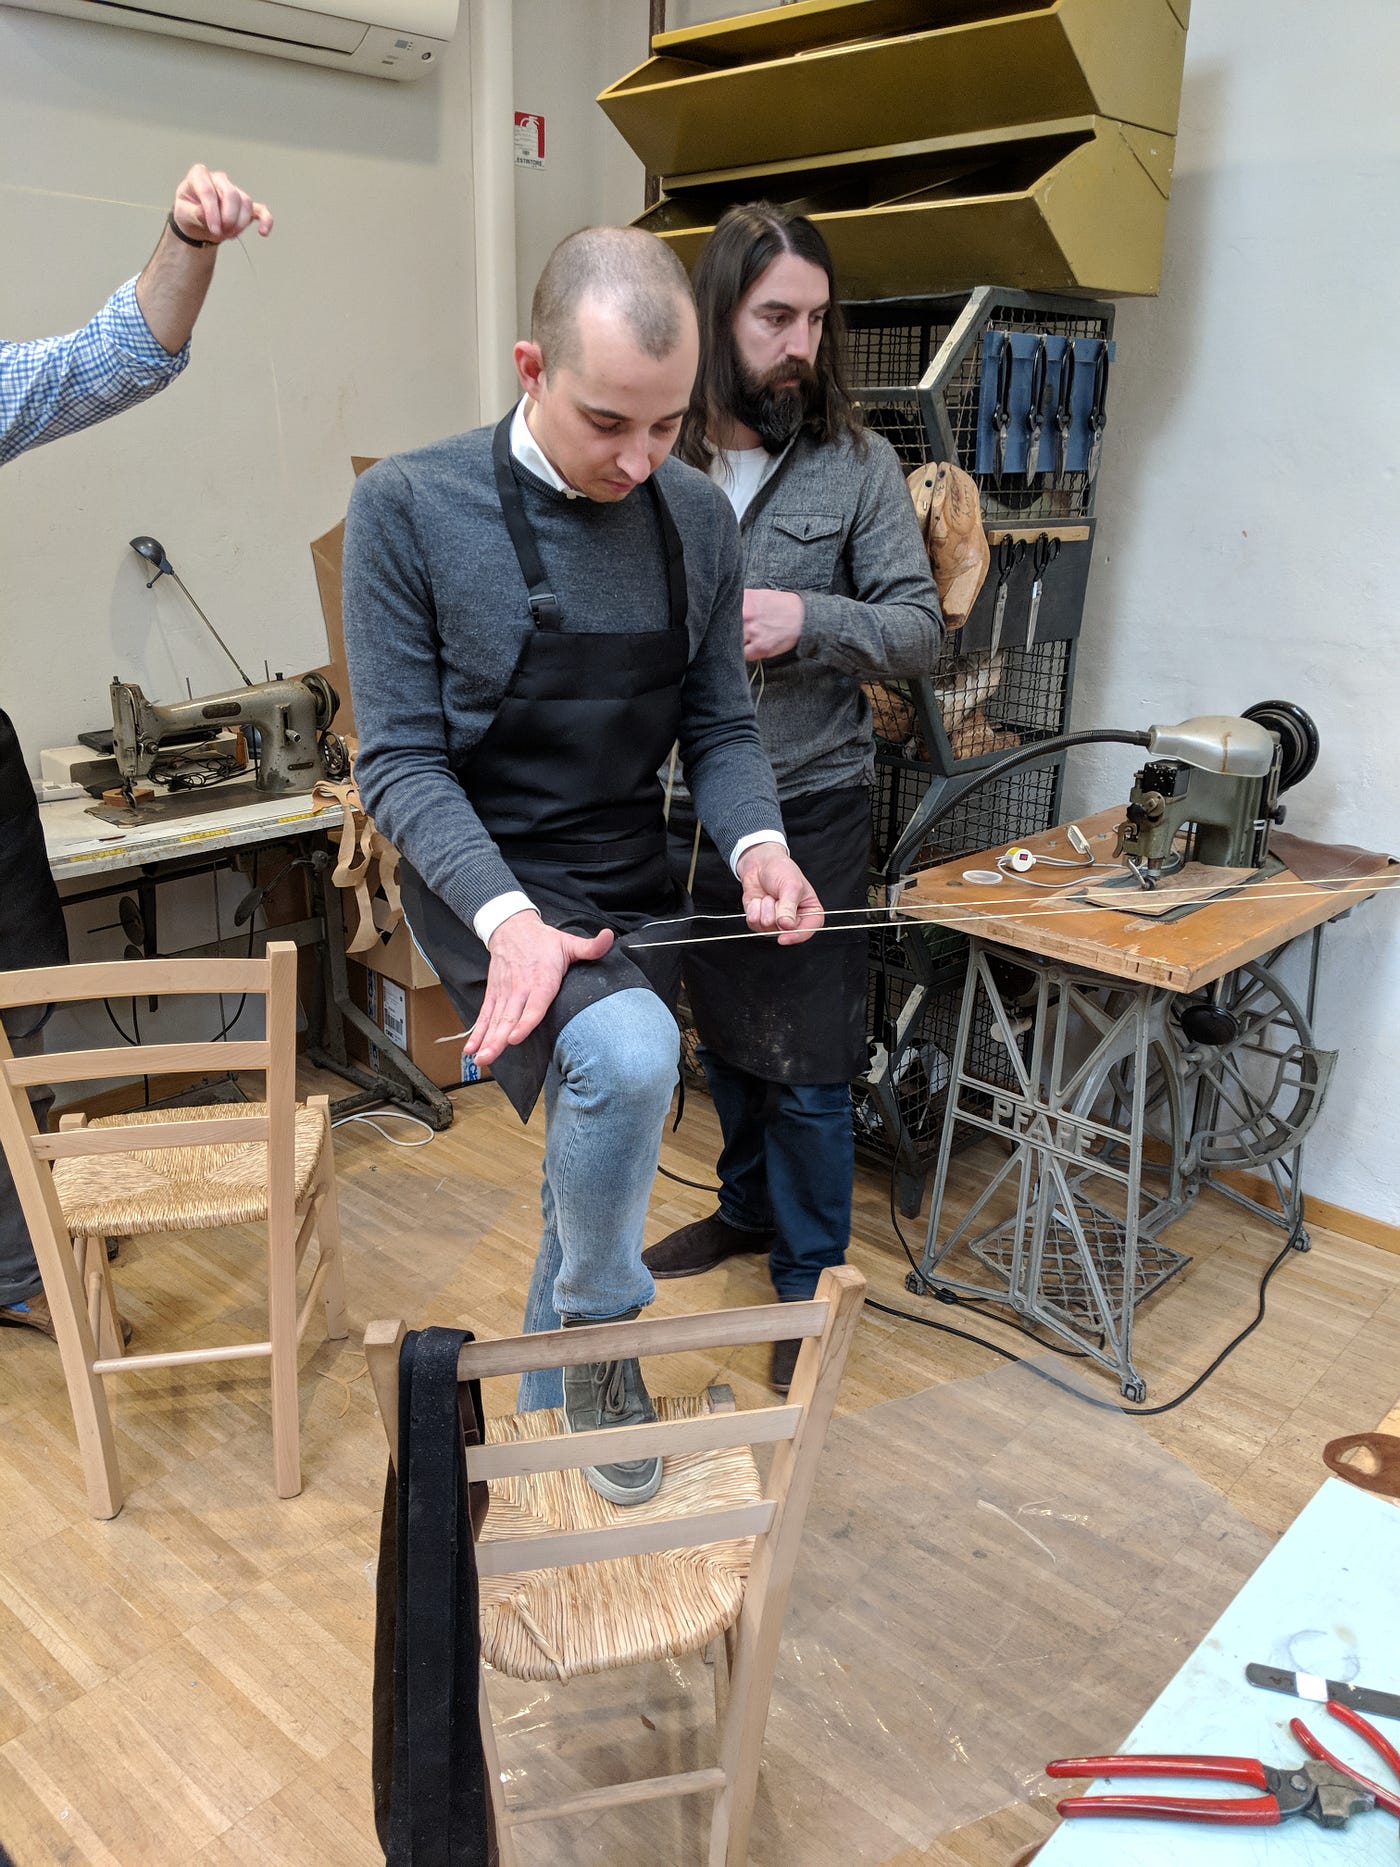
The technique for twisting thread is shown here. Loop the thread around something solid leaving one end longer. Hold the thread under tension with your non dominant hand, which should be holding the shorter end as well as the longer end when not twisting. Use your palm against your thigh to twist the thread, as soon as you stop the twist make sure you keep the thread tight by grabbing on to it with your other hand. Do this multiple times for both sides of the thread until the twisting is tight and uniform across the entire thread.

After you’re happy with the twist, seal the pitch and lock the twist in by rubbing it vigorously with a cloth. This also removes excess pitch.

Apply a generous amount of pitch to the ends, and thread the bristle through. This is why it was important to leave the ends tapered. Fold it over where the thickness is about half the full thread thickness, if you’re thread is too bulky on the ends it will be really difficult to pull through the welt later.

After you fold the thread over, twist it away from you (same direction as the rest of the twist). Afterwards, apply a generous coating of beeswax or paraffin to the entire thread. I prefer paraffin because its more slick and it will be easier to thread through later.

Now that your thread is done, time to start welting. We use premade welt material which is vegetable tanned leather with a channel cut on one end, and the back end is skived down. You could make your own welt, but its a huge hassle (more so than making thread). You have to make sure that the welt is wet the entire time you’re working with it, so do that before attaching it with the nail. Also, its useful to have some water and a brush if it gets too dry during the process.
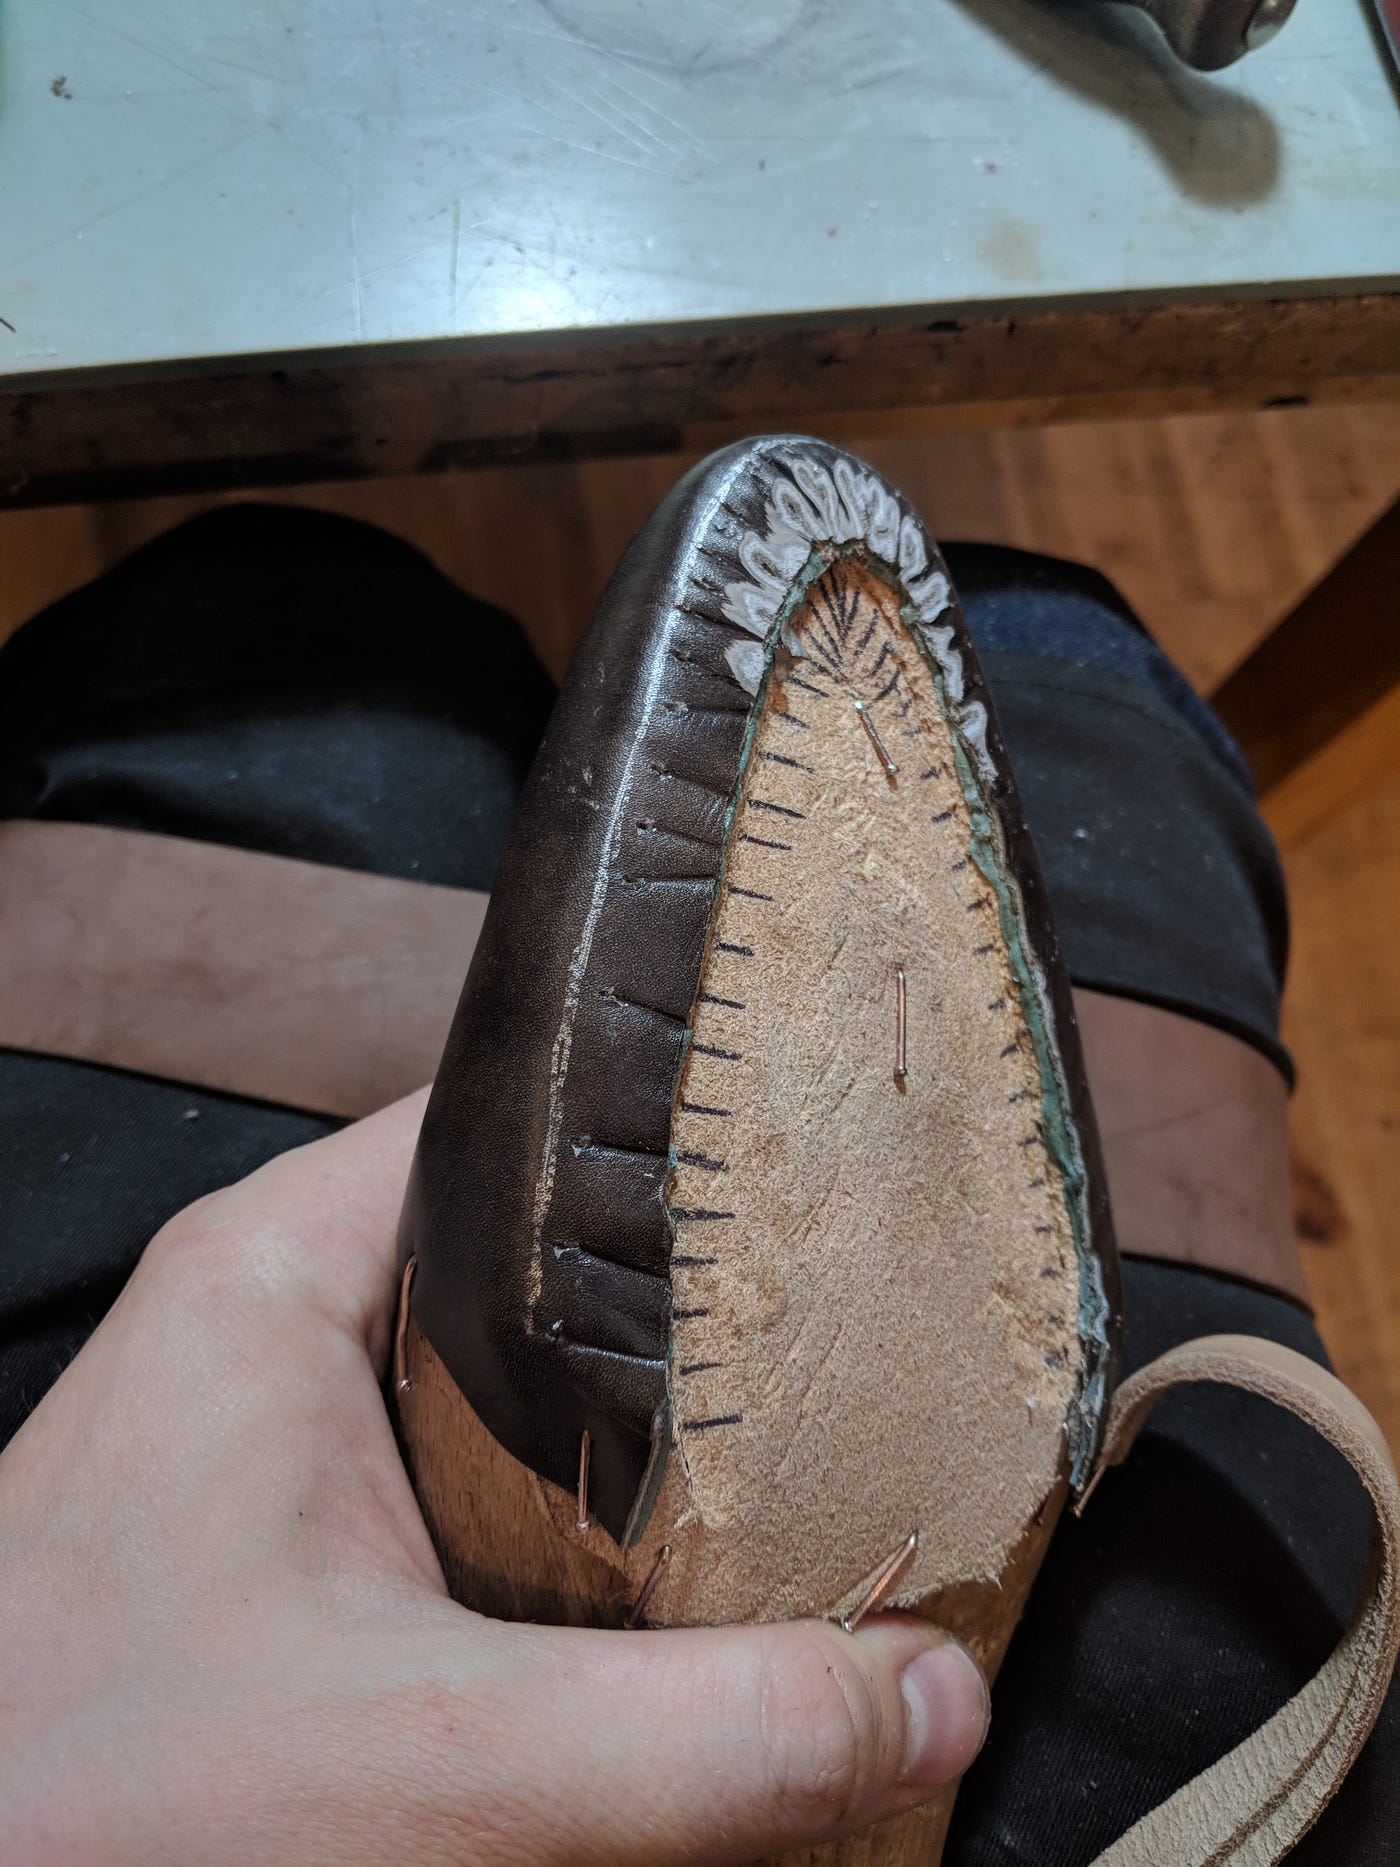
This is about where your awl should be coming out. Its a good idea to mark this out beforehand with a silver pen, so you can aim better. If your awl holes are uneven, it will show in the finished product.

This is a practice picture without an actual welt, but its a good example of how to start.

Once you’ve made a hole with the awl, first insert the outside bristle halfway, then the inside bristle (this makes sure that you don’t pierce the thread midway). wrap the outside thread around the bristle as shown, then pull both tight simultaneously. The wrap (or twist) is important because it locks the thread, if one fails the rest won’t unravel. If you are having trouble pulling one of the threads through, you can pull on the bristle and the second thread at the same time. Notice how both bristles are curved similar to the awl. Make sure the curve is consistent, adjust when needed. The curve in the bristle follows the curve that the awl made, and makes threading the bristle through much easier.

You’re supposed to always keep a hold of your bristles and awl. You use the awl to tighten the stitches by wrapping the thread around the handle before pulling.
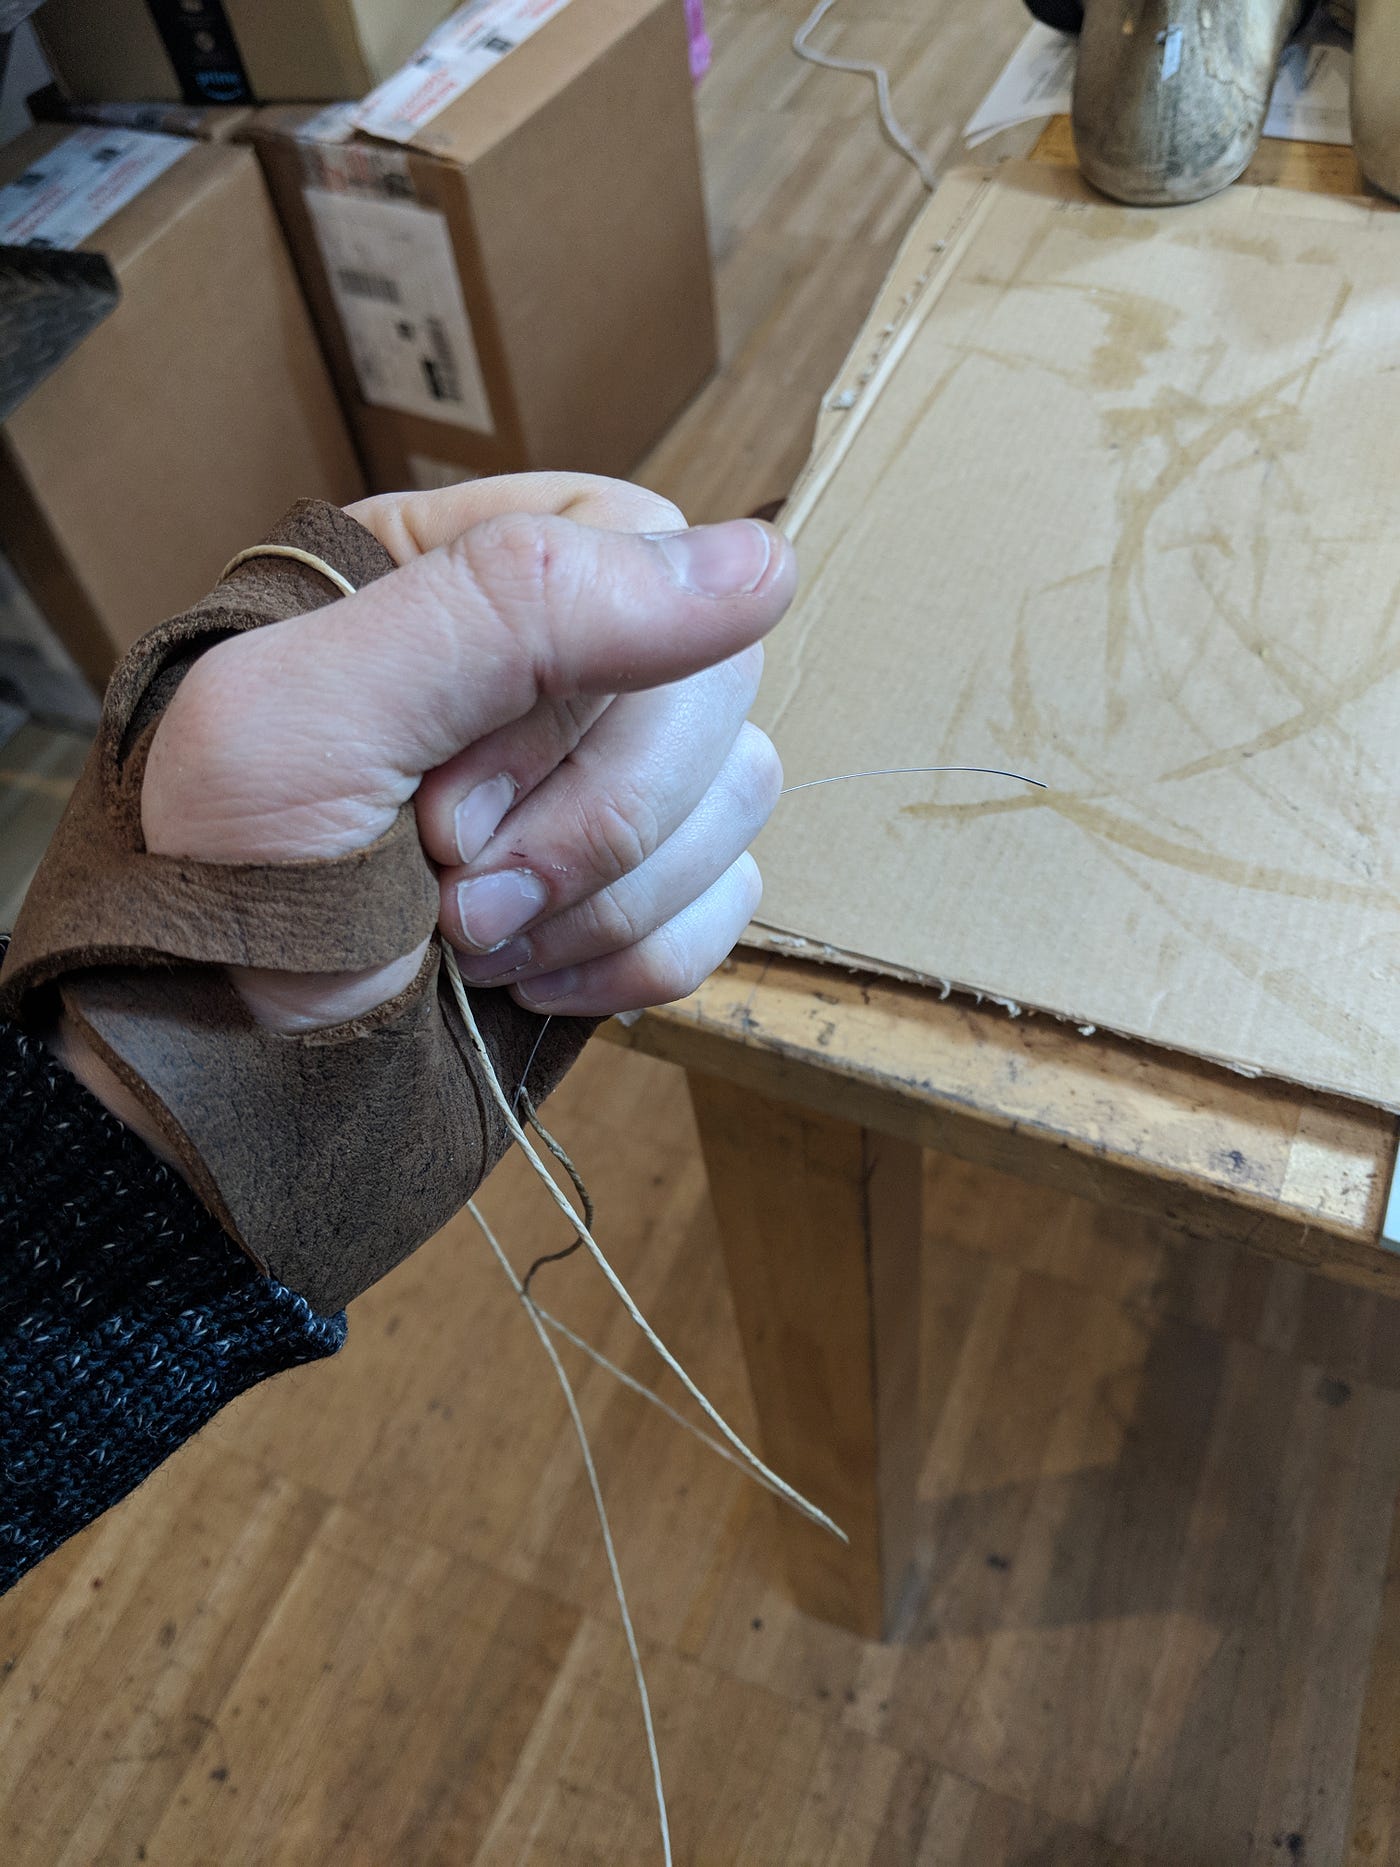
Use your hand protector when you tighten the other side, by wrapping the thread over the top of your hand.
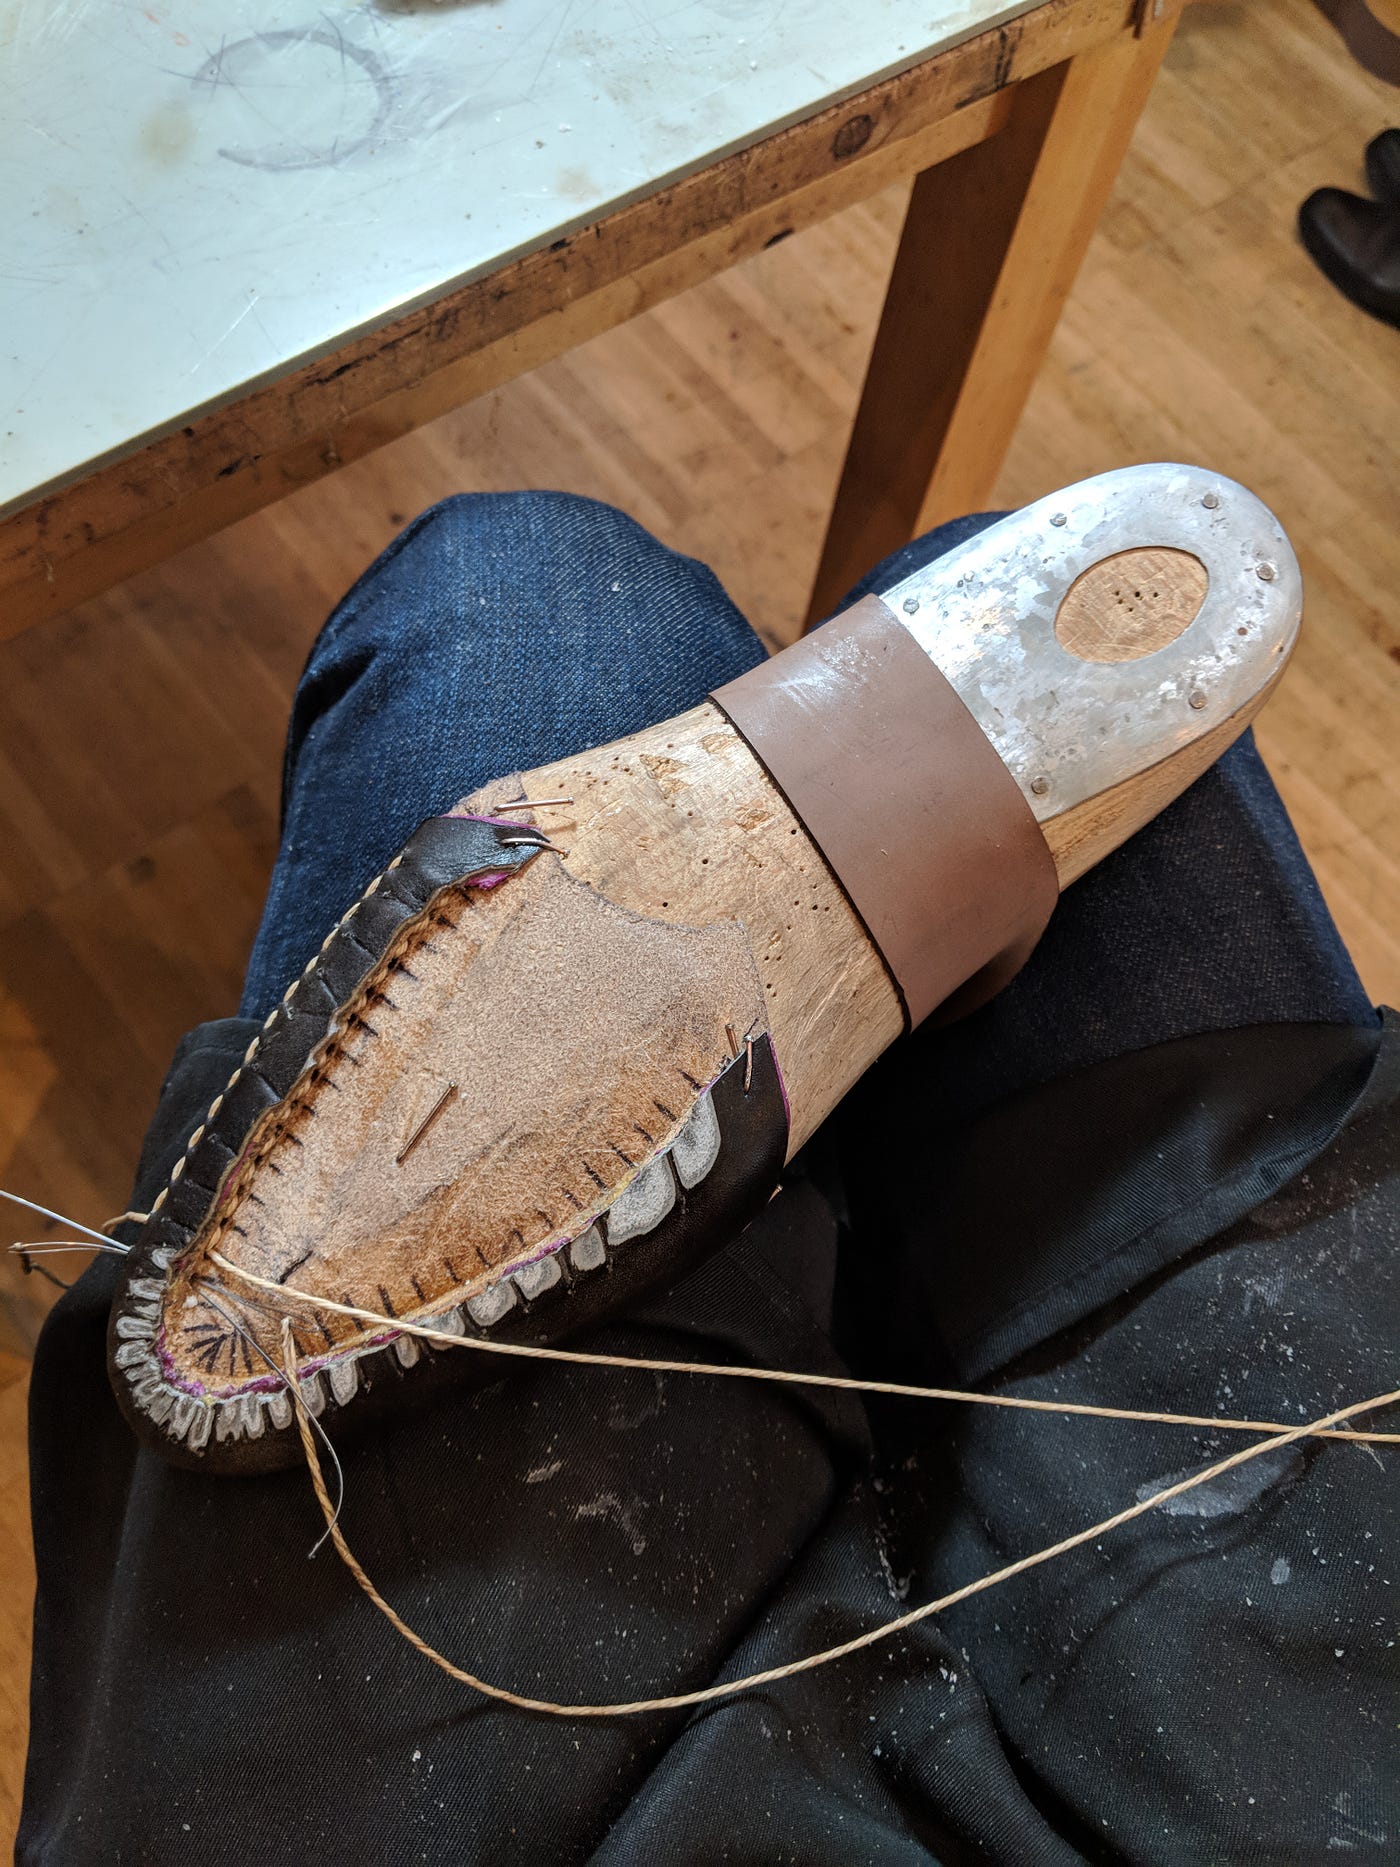
Once you get to the toe section, you can change up how you hold down the last with the belt. A note, if you break your thread in the middle of welting, you can just tie it off on the inside and keep going. Start with the new thread through the last hole where it is tied off. Also, don’t pull by the bristle once you get it through, that's a weak point in the thread. Get a bit through then grab the thread and pull, if you do break the thread at the tip, you can always unwind the thread, fray it out with a roughener tool, and reattach the bristle.

When you start sewing the welt initially, you keep the welt under tension and try to have your awl come out in the channel. As you get to the toe section, instead of pulling the welt tight, push it in a bit so you can get the nice curve while keeping the welt flat.

Once you’re done, pull the outside thread through and tie it off. Afterward, you hammer the welt along the thread. This flattens things out, and helps you skive it down.

Skive down any part of the upper that's bulging. Its okay to cut the welt flat as well, as long as you don’t nick any of the thread. After you’ve skived it, hammer everything flat along the holdfast.

Finished product, use the bone tool to flatten the welt out if you need to.

